今天学习下Flutter中state管理的第三方mobx .mobx: ^0.1.4 flutter_mobx: ^0.1.3,当中,还需要其他的两个库的支持,mobx_codegen: ^0.1.3,build_runner: ^1.4.0
代码结构如图所示:
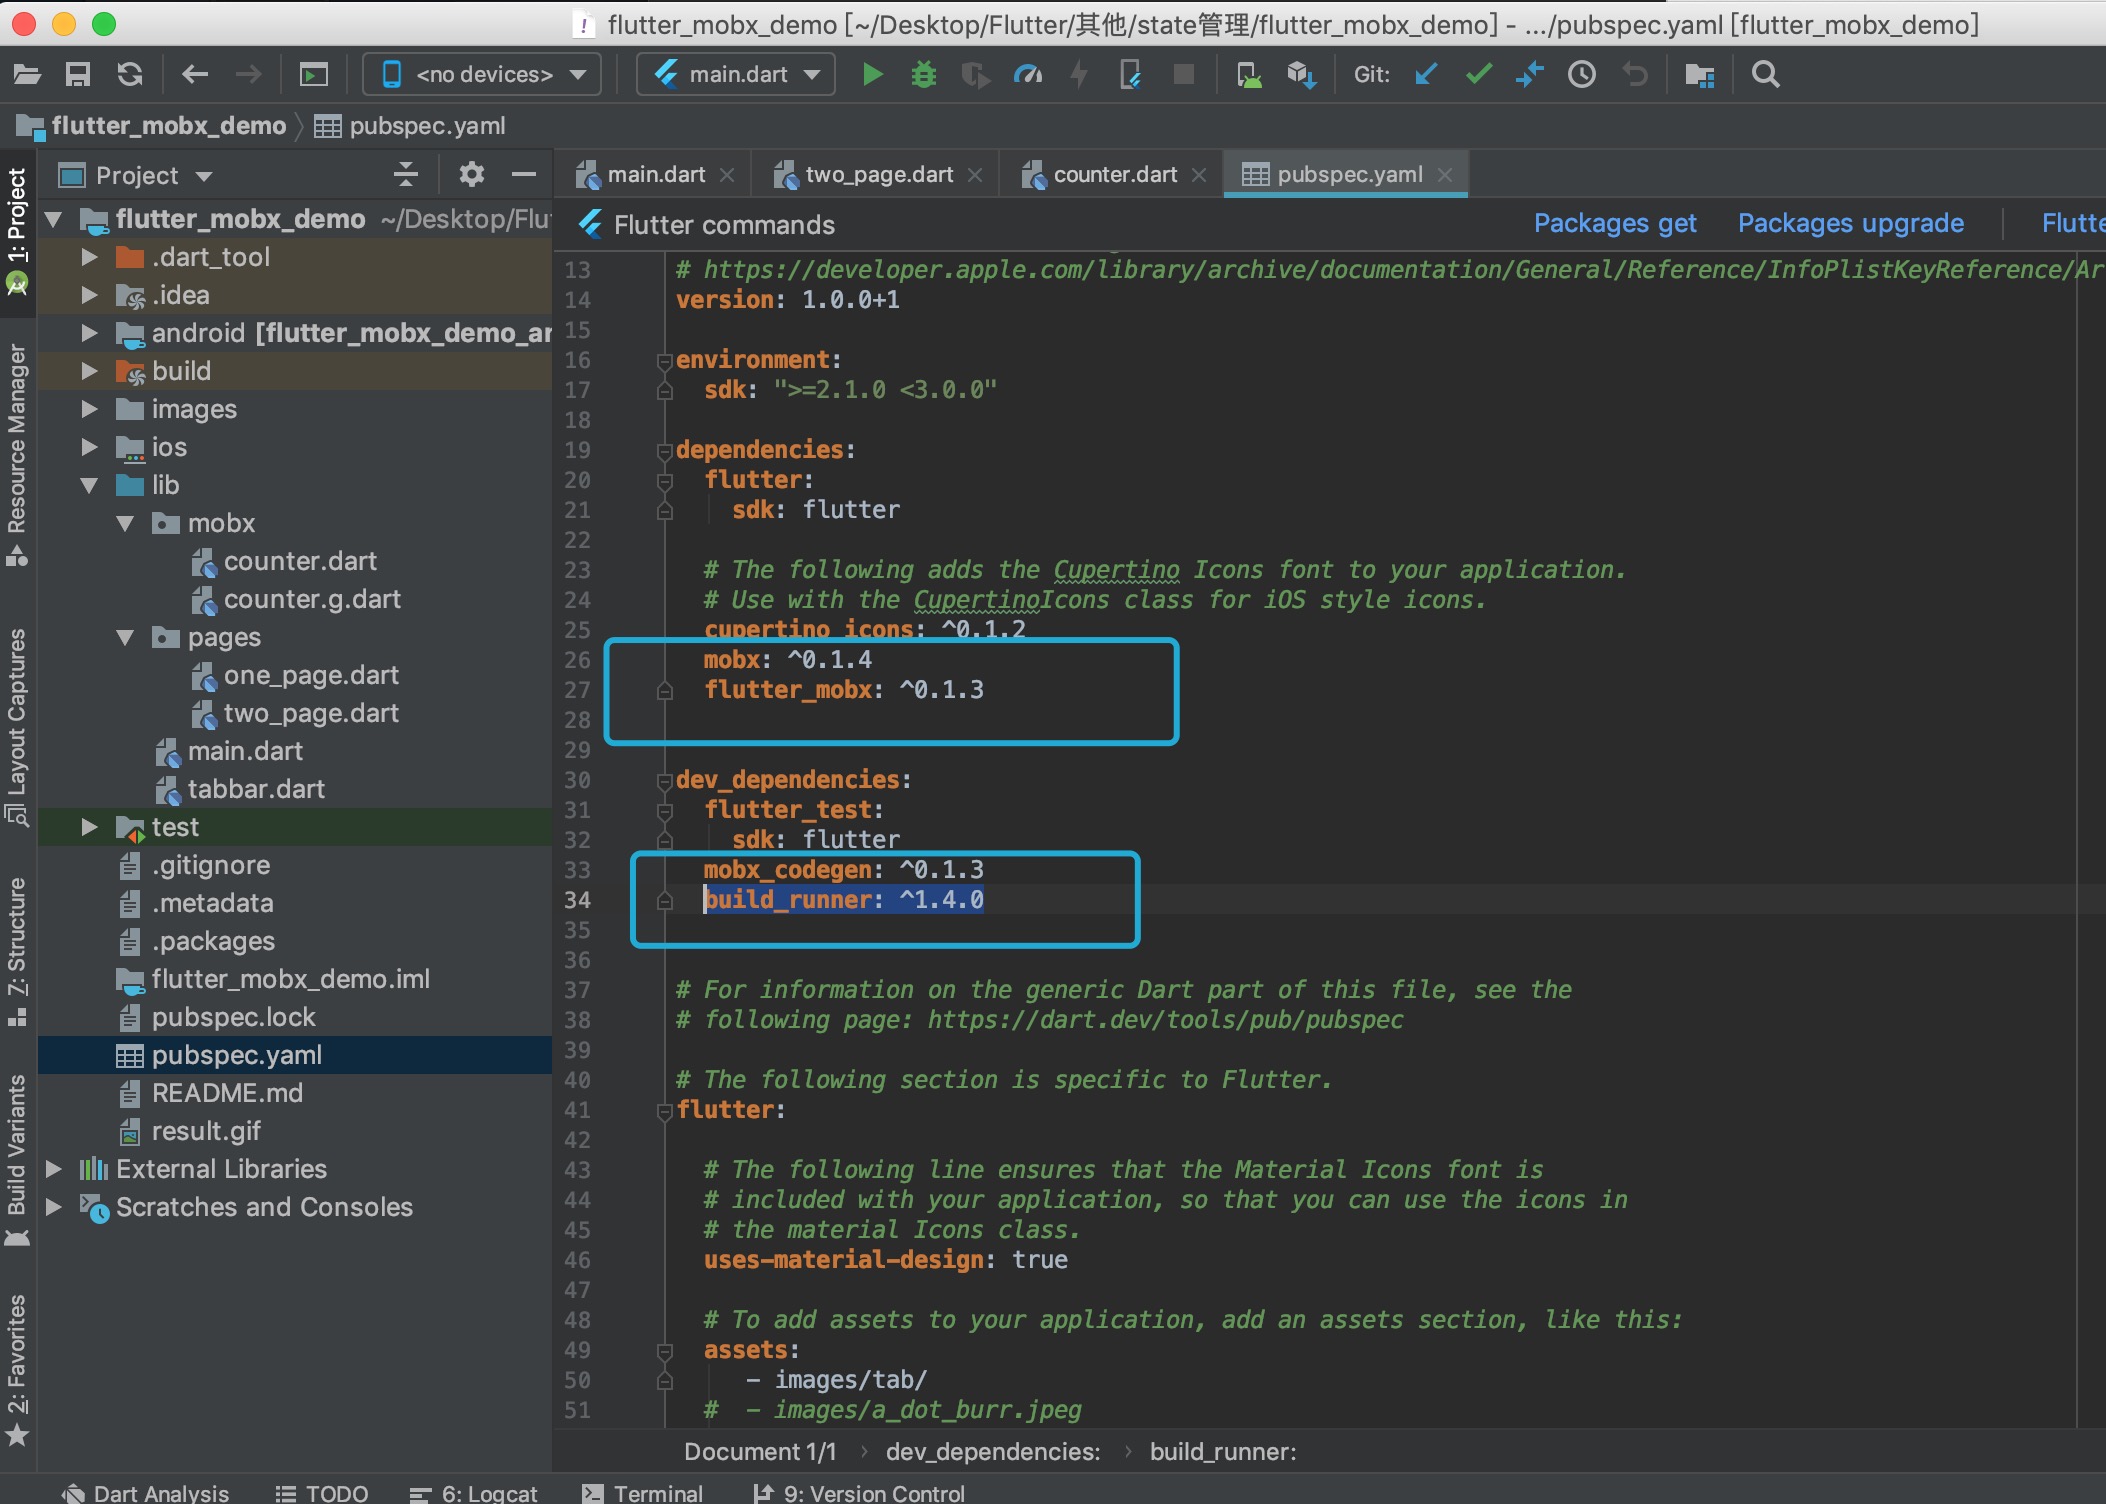
首先,先在pubspec.yaml里添加 1 2 3 4 5 6 7 8 9 10 11 12 13 14 15 16 17 18 19 20 21 version: 1.0.0+1 environment: sdk: ">=2.1.0 <3.0.0" dependencies: flutter: sdk: flutter # The following adds the Cupertino Icons font to your application. # Use with the CupertinoIcons class for iOS style icons. cupertino_icons: ^0.1.2 mobx: ^0.1.4 flutter_mobx: ^0.1.3 dev_dependencies: flutter_test: sdk: flutter mobx_codegen: ^0.1.3 build_runner: ^1.4.0
flutter packages get 之后,我们先创建一个基本的结构.其中包含两个Tab页面:one_page.dart和two_page.dart,tabBar的tabbar.dart,mobx的counter.dart ,counter.g.dart.counter.dart中写基本代码,其中count是个状态化的数字.flutter packages pub run build_runner build,如果正常的话,会自动生成 count.g.dart文件.
counter.dart 1 2 3 4 5 6 7 8 9 10 11 12 13 14 15 16 17 18 19 20 21 22 23 24 25 26 27 28 29 import 'package:mobx/mobx.dart'; part 'counter.g.dart'; class Counter = CounterBase with _$Counter; final Counter counter = Counter(); abstract class CounterBase implements Store { @observable int value = 0; @action void increment() { value++; } @action void decrement() { value--; } @action void set(int value) { this.value = value; } }
counter.g.dart 1 2 3 4 5 6 7 8 9 10 11 12 13 14 15 16 17 18 19 20 21 22 23 24 25 26 27 28 29 30 31 32 33 34 35 36 37 38 39 40 41 42 43 44 45 46 47 48 49 50 51 52 53 54 55 56 57 58 59 60 // GENERATED CODE - DO NOT MODIFY BY HAND part of 'counter.dart'; // ************************************************************************** // StoreGenerator // ************************************************************************** // ignore_for_file: non_constant_identifier_names, unnecessary_lambdas, prefer_expression_function_bodies, lines_longer_than_80_chars mixin _$Counter on CounterBase, Store { final _$valueAtom = Atom(name: 'CounterBase.value'); @override int get value { _$valueAtom.reportObserved(); return super.value; } @override set value(int value) { _$valueAtom.context.checkIfStateModificationsAreAllowed(_$valueAtom); super.value = value; _$valueAtom.reportChanged(); } final _$CounterBaseActionController = ActionController(name: 'CounterBase'); @override void increment() { final _$actionInfo = _$CounterBaseActionController.startAction(); try { return super.increment(); } finally { _$CounterBaseActionController.endAction(_$actionInfo); } } @override void decrement() { final _$actionInfo = _$CounterBaseActionController.startAction(); try { return super.decrement(); } finally { _$CounterBaseActionController.endAction(_$actionInfo); } } @override void set(int value) { final _$actionInfo = _$CounterBaseActionController.startAction(); try { return super.set(value); } finally { _$CounterBaseActionController.endAction(_$actionInfo); } } }
ok,在使用的时候,使用counter.value即可使用mobx中的值,counter.increment即可改变值.如:
one_page.dart 1 2 3 4 5 6 7 8 9 10 11 12 13 14 15 16 17 18 19 20 21 22 23 24 25 26 27 28 29 30 31 32 33 34 35 36 37 38 import 'package:flutter/material.dart'; import 'package:flutter_mobx/flutter_mobx.dart'; import '../mobx/counter.dart'; class OnePage extends StatefulWidget { @override _OnePageState createState() => _OnePageState(); } class _OnePageState extends State<OnePage> { @override Widget build(BuildContext context) { return Scaffold( appBar: AppBar( title: Text('111111'), ), body: ListView( children: <Widget>[ Observer( builder: (_) => Text( '${counter.value}', style: Theme.of(context).textTheme.display1, ), ), RaisedButton( child: Text('加'), onPressed: counter.increment, ), RaisedButton( child: Text('减'), onPressed: counter.decrement, ), ], ), ); } }
two_page.dart 1 2 3 4 5 6 7 8 9 10 11 12 13 14 15 16 17 18 19 20 21 22 23 24 25 26 27 28 29 30 31 32 33 34 35 36 37 import 'package:flutter/material.dart'; import 'package:flutter_mobx/flutter_mobx.dart'; import '../mobx/counter.dart'; class TwoPage extends StatefulWidget { @override _TwoPageState createState() => _TwoPageState(); } class _TwoPageState extends State<TwoPage> { @override Widget build(BuildContext context) { return Scaffold( appBar: AppBar( title: Text('222222'), ), body: ListView( children: <Widget>[ Observer( builder: (_) => Text( '${counter.value}', style: Theme.of(context).textTheme.display1, ), ), RaisedButton( child: Text('加'), onPressed: counter.increment, ), RaisedButton( child: Text('减'), onPressed: counter.decrement, ), ], ), ); } }
其他文件:
main.dart 1 2 3 4 5 6 7 8 9 10 11 12 13 14 15 16 17 18 19 20 21 22 23 24 25 26 27 28 import 'package:flutter/material.dart'; import './tabbar.dart'; void main() => runApp(MyApp()); class MyApp extends StatelessWidget { // This widget is the root of your application. @override Widget build(BuildContext context) { return MaterialApp( title: 'Flutter Demo', theme: ThemeData( // This is the theme of your application. // // Try running your application with "flutter run". You'll see the // application has a blue toolbar. Then, without quitting the app, try // changing the primarySwatch below to Colors.green and then invoke // "hot reload" (press "r" in the console where you ran "flutter run", // or simply save your changes to "hot reload" in a Flutter IDE). // Notice that the counter didn't reset back to zero; the application // is not restarted. primarySwatch: Colors.blue, ), home: Tabbar(), ); } }
tabbar.dart 1 2 3 4 5 6 7 8 9 10 11 12 13 14 15 16 17 18 19 20 21 22 23 24 25 26 27 28 29 30 31 32 33 34 35 36 37 38 39 40 41 42 43 44 45 46 47 48 49 50 51 52 53 54 55 56 57 58 59 60 61 62 63 64 65 66 67 68 69 70 71 72 73 74 75 76 77 78 79 80 81 82 83 84 85 86 87 88 89 90 91 92 93 94 95 96 97 98 99 100 101 102 103 104 105 106 107 108 import 'package:flutter/material.dart'; import './pages/one_page.dart'; import './pages/two_page.dart'; class Tabbar extends StatelessWidget { @override Widget build(BuildContext context) { return new MaterialApp( debugShowCheckedModeBanner: false, home: new MainPageWidget()); } } class MainPageWidget extends StatefulWidget { @override State<StatefulWidget> createState() { return new MainPageState(); } } class MainPageState extends State<MainPageWidget> { int _tabIndex = 0; var tabImages; var appBarTitles = ['一', '二']; /* * 存放两个页面,跟fragmentList一样 */ var _pageList; /* * 根据选择获得对应的normal或是press的icon */ Image getTabIcon(int curIndex) { if (curIndex == _tabIndex) { return tabImages[curIndex][1]; } return tabImages[curIndex][0]; } /* * 获取bottomTab的颜色和文字 */ Text getTabTitle(int curIndex) { if (curIndex == _tabIndex) { return new Text(appBarTitles[curIndex], style: new TextStyle(fontSize: 14.0, color: const Color(0xff1296db))); } else { return new Text(appBarTitles[curIndex], style: new TextStyle(fontSize: 14.0, color: const Color(0xff515151))); } } /* * 根据image路径获取图片 */ Image getTabImage(path) { return new Image.asset(path, width: 24.0, height: 24.0); } void initData() { /* * 初始化选中和未选中的icon */ tabImages = [ [ getTabImage('images/tab/home.png'), getTabImage('images/tab//home_select.png') ], [ getTabImage('images/tab/show.png'), getTabImage('images/tab//show_select.png') ] ]; /* * 三个子界面 */ _pageList = [ new OnePage(), new TwoPage(), ]; } @override Widget build(BuildContext context) { //初始化数据 initData(); return Scaffold( body: _pageList[_tabIndex], bottomNavigationBar: new BottomNavigationBar( items: <BottomNavigationBarItem>[ new BottomNavigationBarItem( icon: getTabIcon(0), title: getTabTitle(0)), new BottomNavigationBarItem( icon: getTabIcon(1), title: getTabTitle(1)), ], type: BottomNavigationBarType.fixed, //默认选中首页 currentIndex: _tabIndex, iconSize: 24.0, //点击事件 onTap: (index) { setState(() { _tabIndex = index; }); }, )); } }
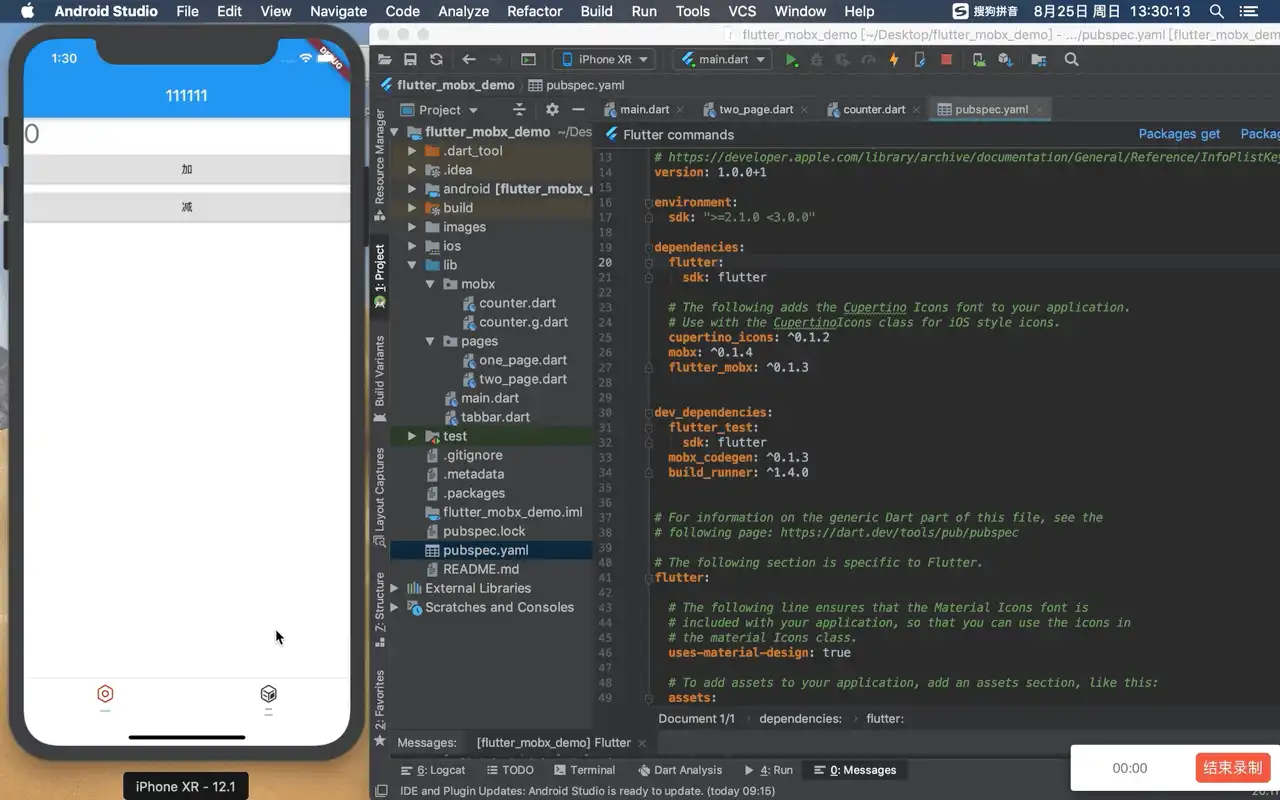
效果图:
源码
另外:其他管理库学习
另外:Flutter学习demo