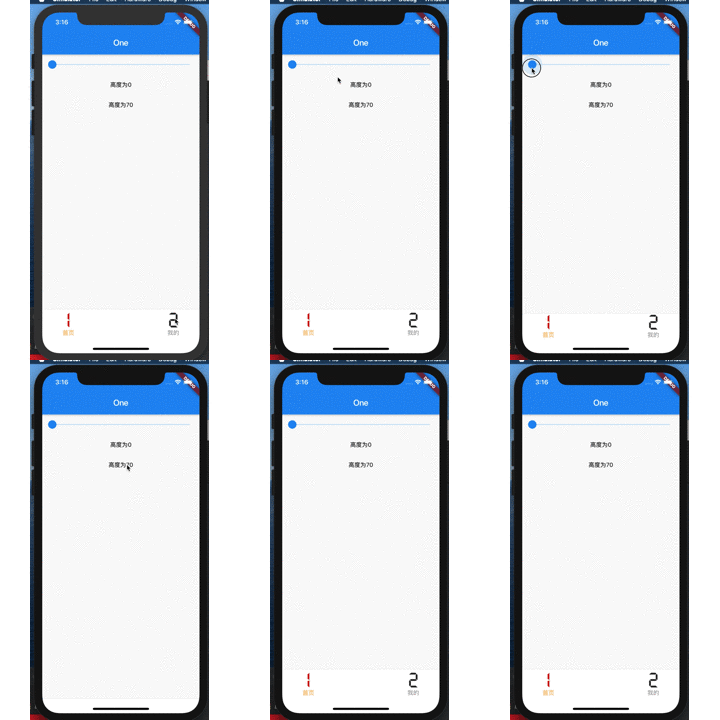
1
2
3
4
5
6
7
8
9
10
11
12
13
14
15
16
17
18
19
20
21
22
23
24
25
26
27
28
29
30
31
32
33
34
35
36
37
38
39
40
41
42
43
44
45
46
47
48
49
50
51
52
53
54
55
56
57
58
59
60
61
62
63
64
65
66
67
68
69
70
71
72
73
74
75
76
77
78
79
80
81
82
83
84
85
86
87
88
89
90
91
92
93
94
95
96
97
98
99
100
101
102
103
104
105
106
107
108
109
110
111
112
113
114
115
116
117
118
119
120
121
122
123
124
125
126
127
128
129
| /*
* 自定义tabbar
* */
import 'package:flutter/material.dart';
class BottomBarItem {
BottomBarItem({this.imageIcon, this.imageSelectedIcon, this.text});
Image imageIcon;
Image imageSelectedIcon;
String text;
}
class BottomBar extends StatefulWidget {
BottomBar({
this.items,
this.centerItemText,
this.height: 60.0,
this.iconSize: 24.0,
this.backgroundColor,
this.color,
this.selectedColor,
this.notchedShape,
this.onTabSelected,
}) {
assert(this.items.length == 2 || this.items.length == 4);
}
final List<BottomBarItem> items;
final String centerItemText;
final double height;
final double iconSize;
final Color backgroundColor;
final Color color;
final Color selectedColor;
final NotchedShape notchedShape;
final ValueChanged<int> onTabSelected;
@override
State<StatefulWidget> createState() => BottomBarState();
}
class BottomBarState extends State<BottomBar> {
int _selectedIndex = 0;
_updateIndex(int index) {
widget.onTabSelected(index);
setState(() {
_selectedIndex = index;
});
}
@override
Widget build(BuildContext context) {
List<Widget> items = List.generate(widget.items.length, (int index) {
return _buildTabItem(
item: widget.items[index],
index: index,
onPressed: _updateIndex,
);
});
items.insert(items.length >> 1, _buildMiddleTabItem());
return BottomAppBar(
shape: widget.notchedShape,
child: Row(
mainAxisSize: MainAxisSize.max,
mainAxisAlignment: MainAxisAlignment.spaceEvenly,
children: items,
),
color: widget.backgroundColor,
);
}
Widget _buildMiddleTabItem() {
return Expanded(
child: SizedBox(
height: widget.height,
child: Column(
mainAxisSize: MainAxisSize.min,
mainAxisAlignment: MainAxisAlignment.end,
children: <Widget>[
SizedBox(height: widget.iconSize),
Text(
widget.centerItemText ?? '',
style: TextStyle(color: widget.color),
),
],
),
),
);
}
Widget _buildTabItem({
BottomBarItem item,
int index,
ValueChanged<int> onPressed,
}) {
Image icon =
_selectedIndex == index ? item.imageSelectedIcon : item.imageIcon;
Color resultColor =
_selectedIndex == index ? widget.selectedColor : widget.color;
return Expanded(
child: SizedBox(
height: widget.height,
child: Material(
type: MaterialType.transparency,
child: InkWell(
onTap: () => onPressed(index),
child: Column(
mainAxisSize: MainAxisSize.min,
mainAxisAlignment: MainAxisAlignment.center,
children: <Widget>[
icon,
Text(
item.text,
style: TextStyle(color: resultColor),
)
],
),
),
),
),
);
}
}
|
