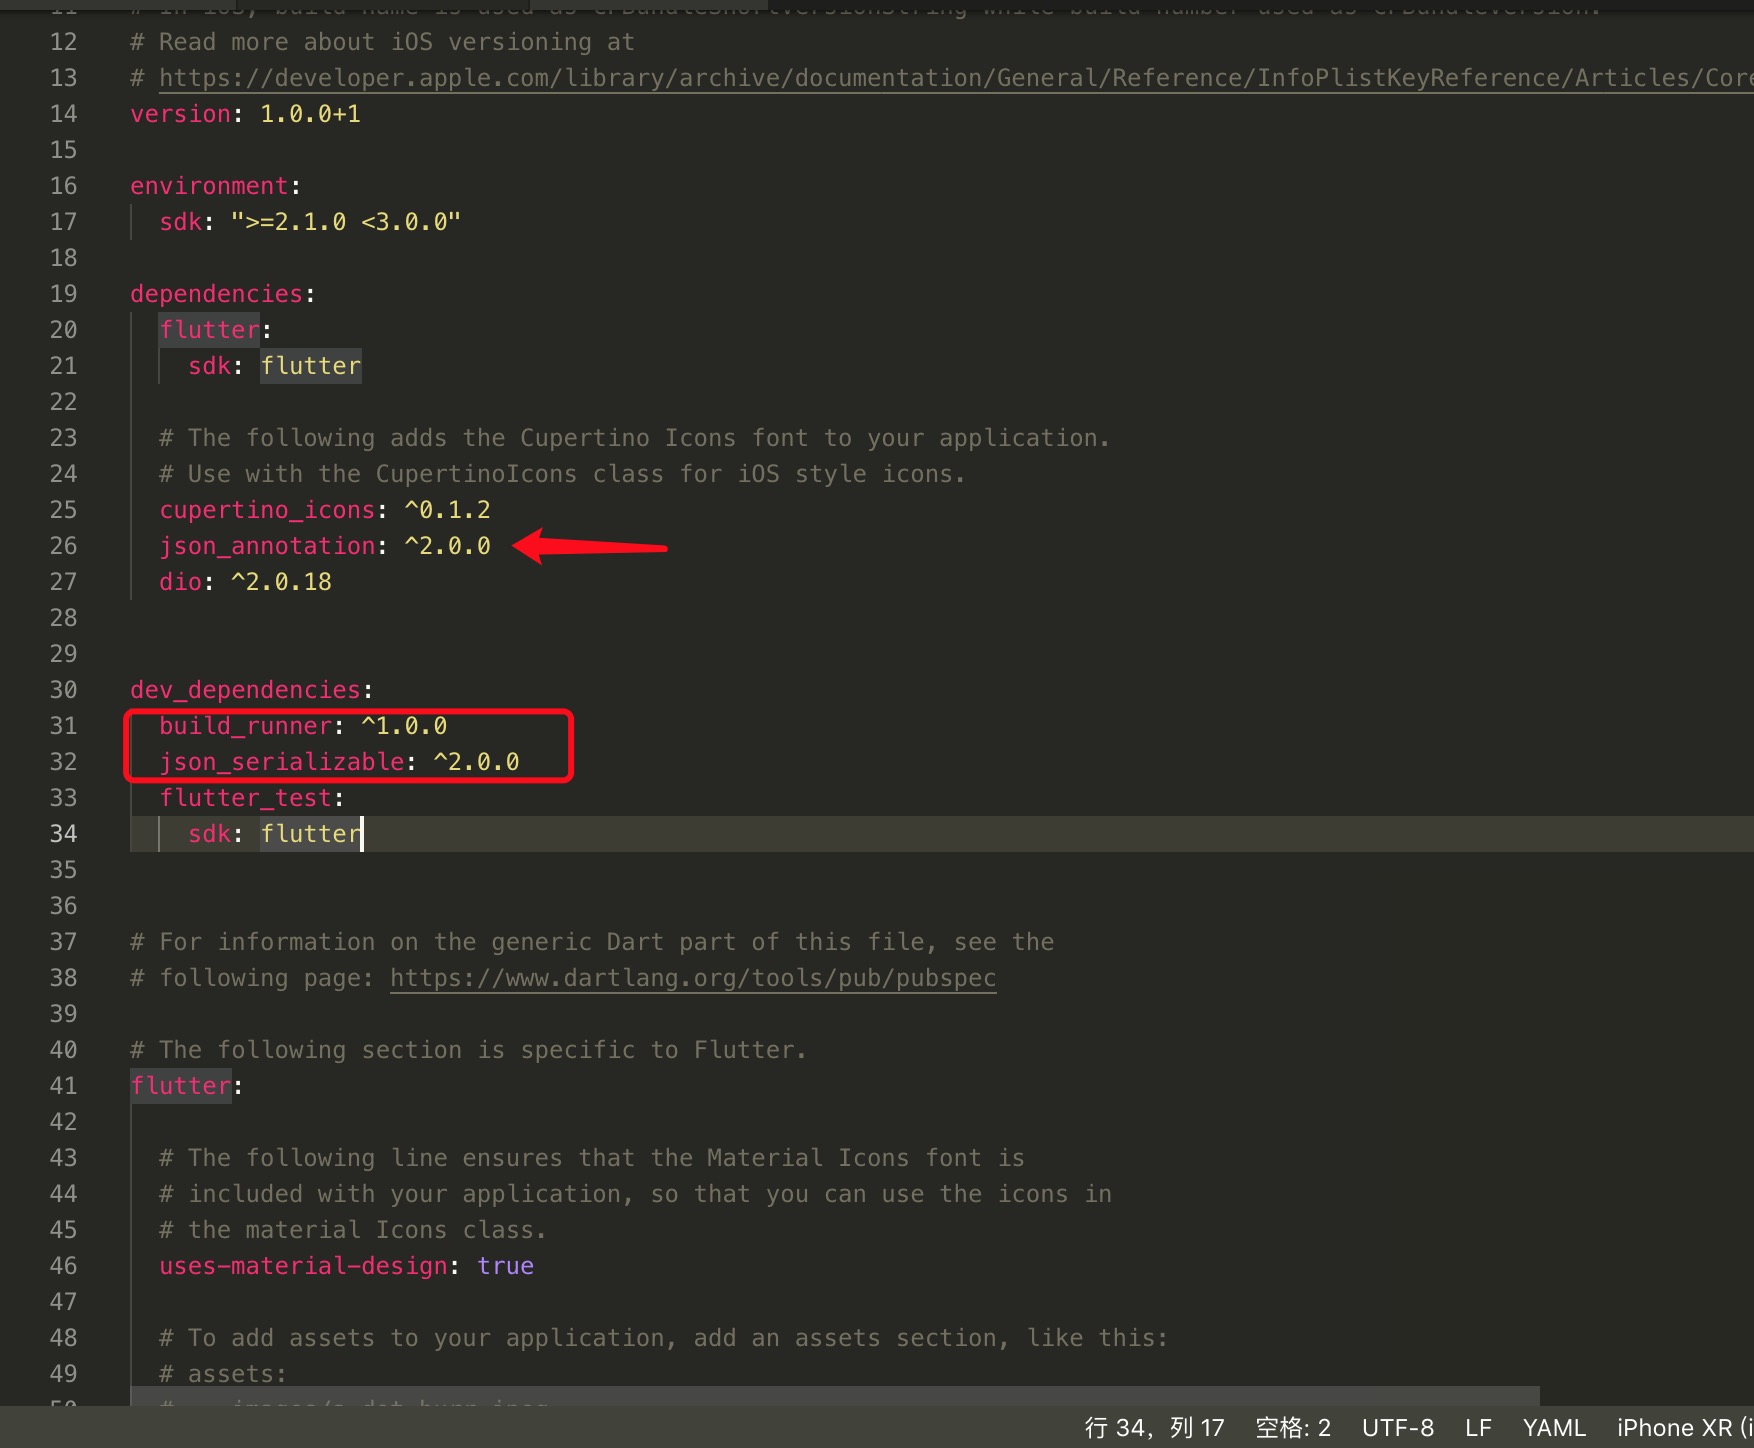
今天学习下Flutter中实体类三方库json_serializable.json_serializable: ^2.0.0,json_annotation: ^2.0.0,build_runner: ^1.0.0
1、首先,新建一个Flutter项目,引入dio 网络请求库,按照json_serializable 的说明,
main.dart 1 2 3 4 5 6 7 8 9 10 11 12 13 14 15 16 17 18 19 20 21 22 23 24 25 26 27 28 29 30 31 32 33 34 35 36 37 38 39 40 41 42 43 44 45 46 47 48 49 50 51 52 53 54 55 56 57 58 59 60 61 62 63 64 65 66 67 68 69 70 71 72 73 74 75 76 77 import 'package:flutter/material.dart'; import 'package:dio/dio.dart'; import 'dart:async'; import 'package:json_demo/Data.dart'; // flutter packages pub run build_runner build void main() => runApp(MyApp()); class MyApp extends StatelessWidget { // This widget is the root of your application. @override Widget build(BuildContext context) { return MaterialApp( title: 'Flutter Demo', theme: ThemeData( primarySwatch: Colors.blue, ), home: DataToModel(), ); } } class DataToModel extends StatefulWidget { final Widget child; DataToModel({Key key, this.child}) : super(key: key); _DataToModelState createState() => _DataToModelState(); } class _DataToModelState extends State<DataToModel> { Future getHomePageContent() async { try { print('开始获取首页数据'); Response response; Dio dio = new Dio(); response = await dio.get('http://gank.io/api/data/%E7%A6%8F%E5%88%A9/10/1'); if (response.statusCode == 200) { return response.data; } else { throw Exception('后端接口出现异常'); } } catch (e) { print('ERROR 发生错误👇'); return print(e); } } @override void initState() { super.initState(); getHomePageContent().then((val) { Data dd = Data.fromJson(val); print(dd.error); // 数组 print(dd.results); // 数组第一个元素:map print(dd.results[0].createdAt); print(dd.results[0].desc); print(dd.results[0].publishedAt); print(dd.results[0].source); print(dd.results[0].type); print(dd.results[0].url); print(dd.results[0].used); print(dd.results[0].who); }); } @override Widget build(BuildContext context) { return Scaffold( appBar: AppBar(title: Text('json_serializable')), body: Text('json_serializable'), ); } }
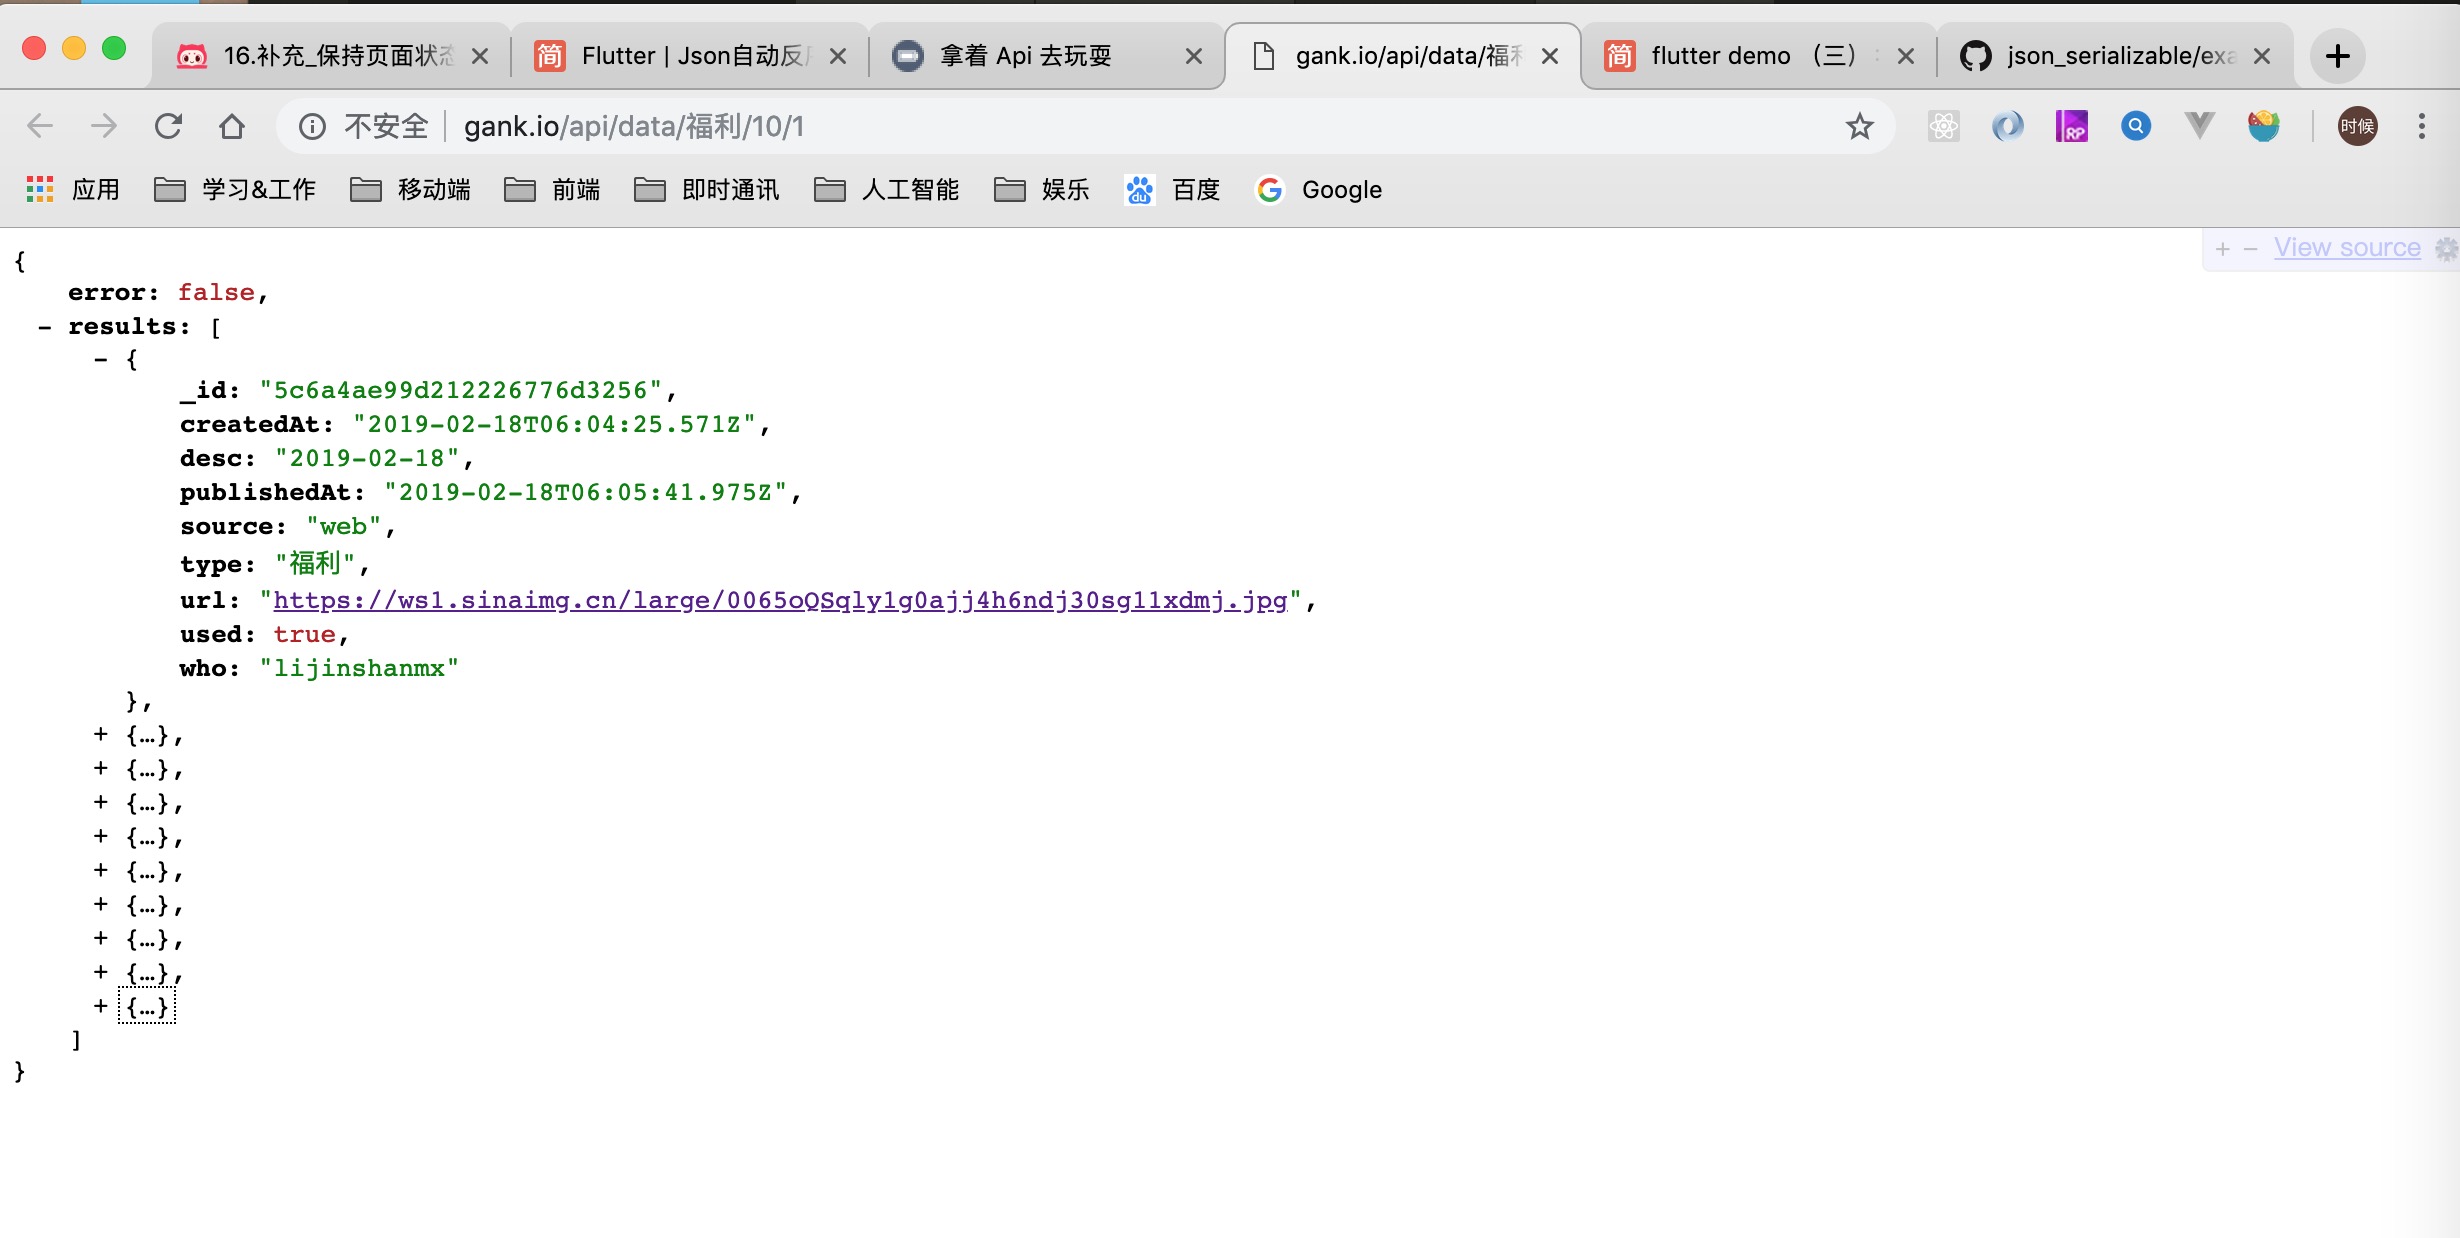
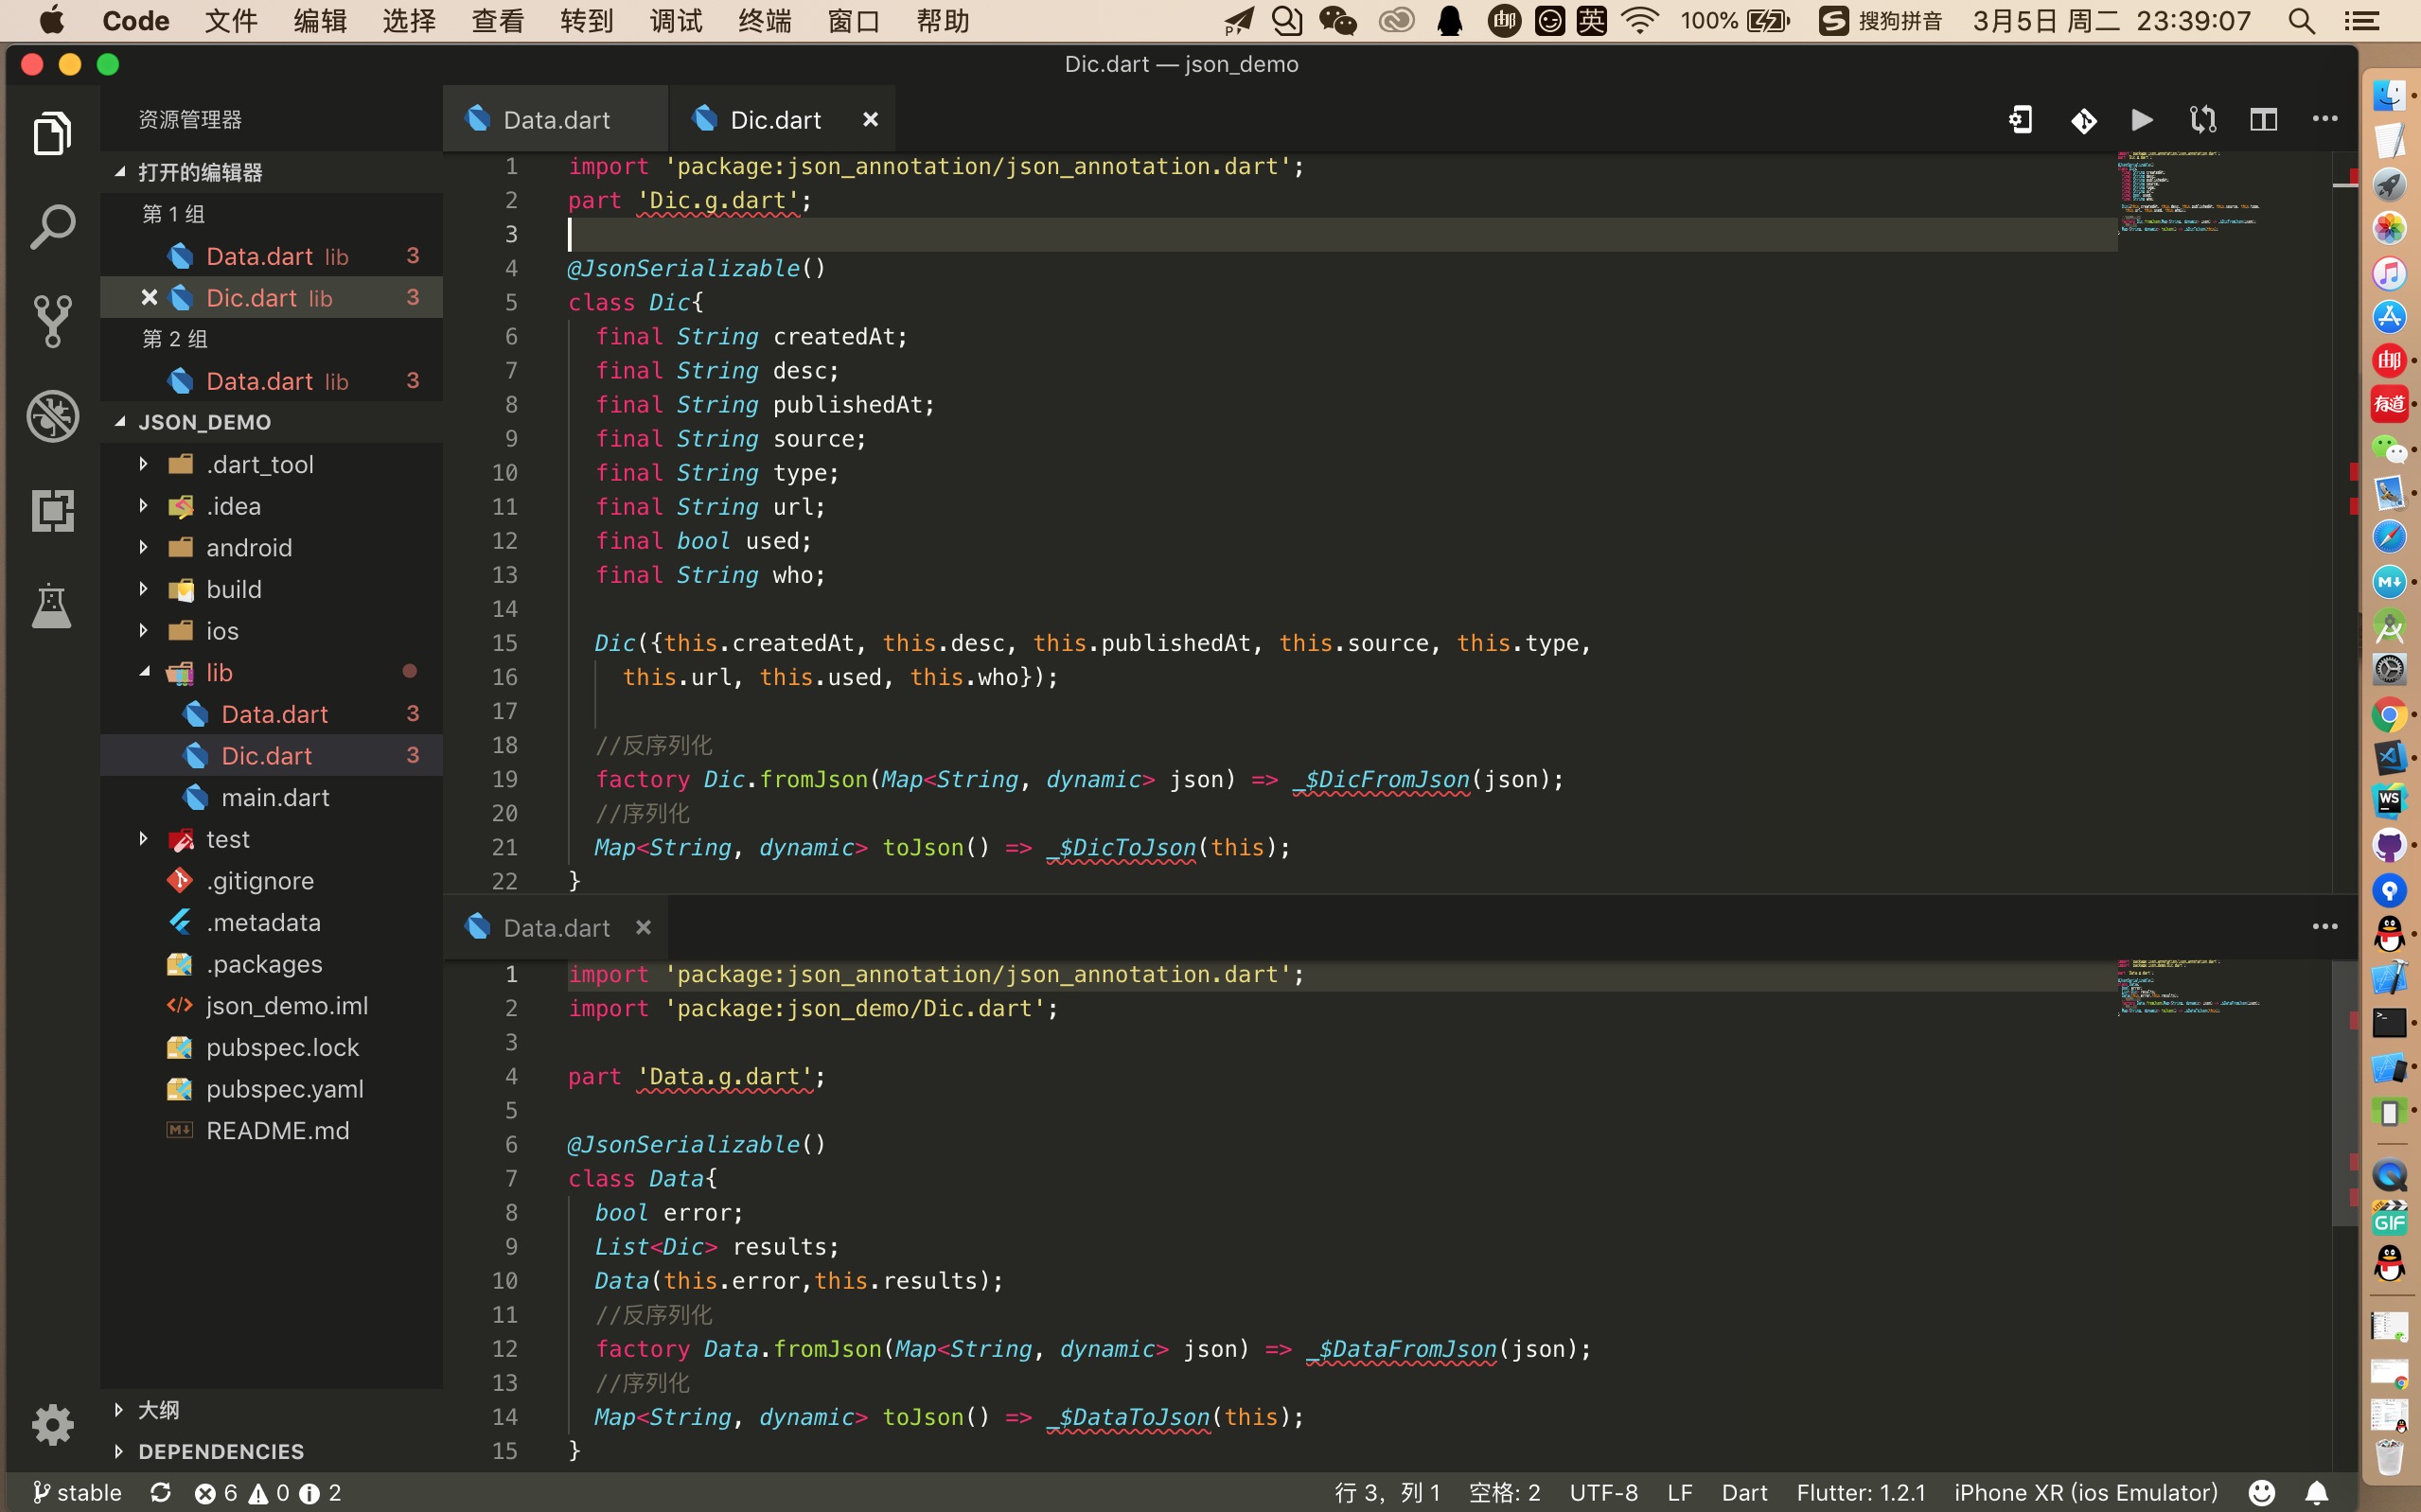
这里的接口,网上随意找一个: http://gank.io/api/data/%E7%A6%8F%E5%88%A9/10/1 Data.dart是外部map,Dic.dart是内部的List.
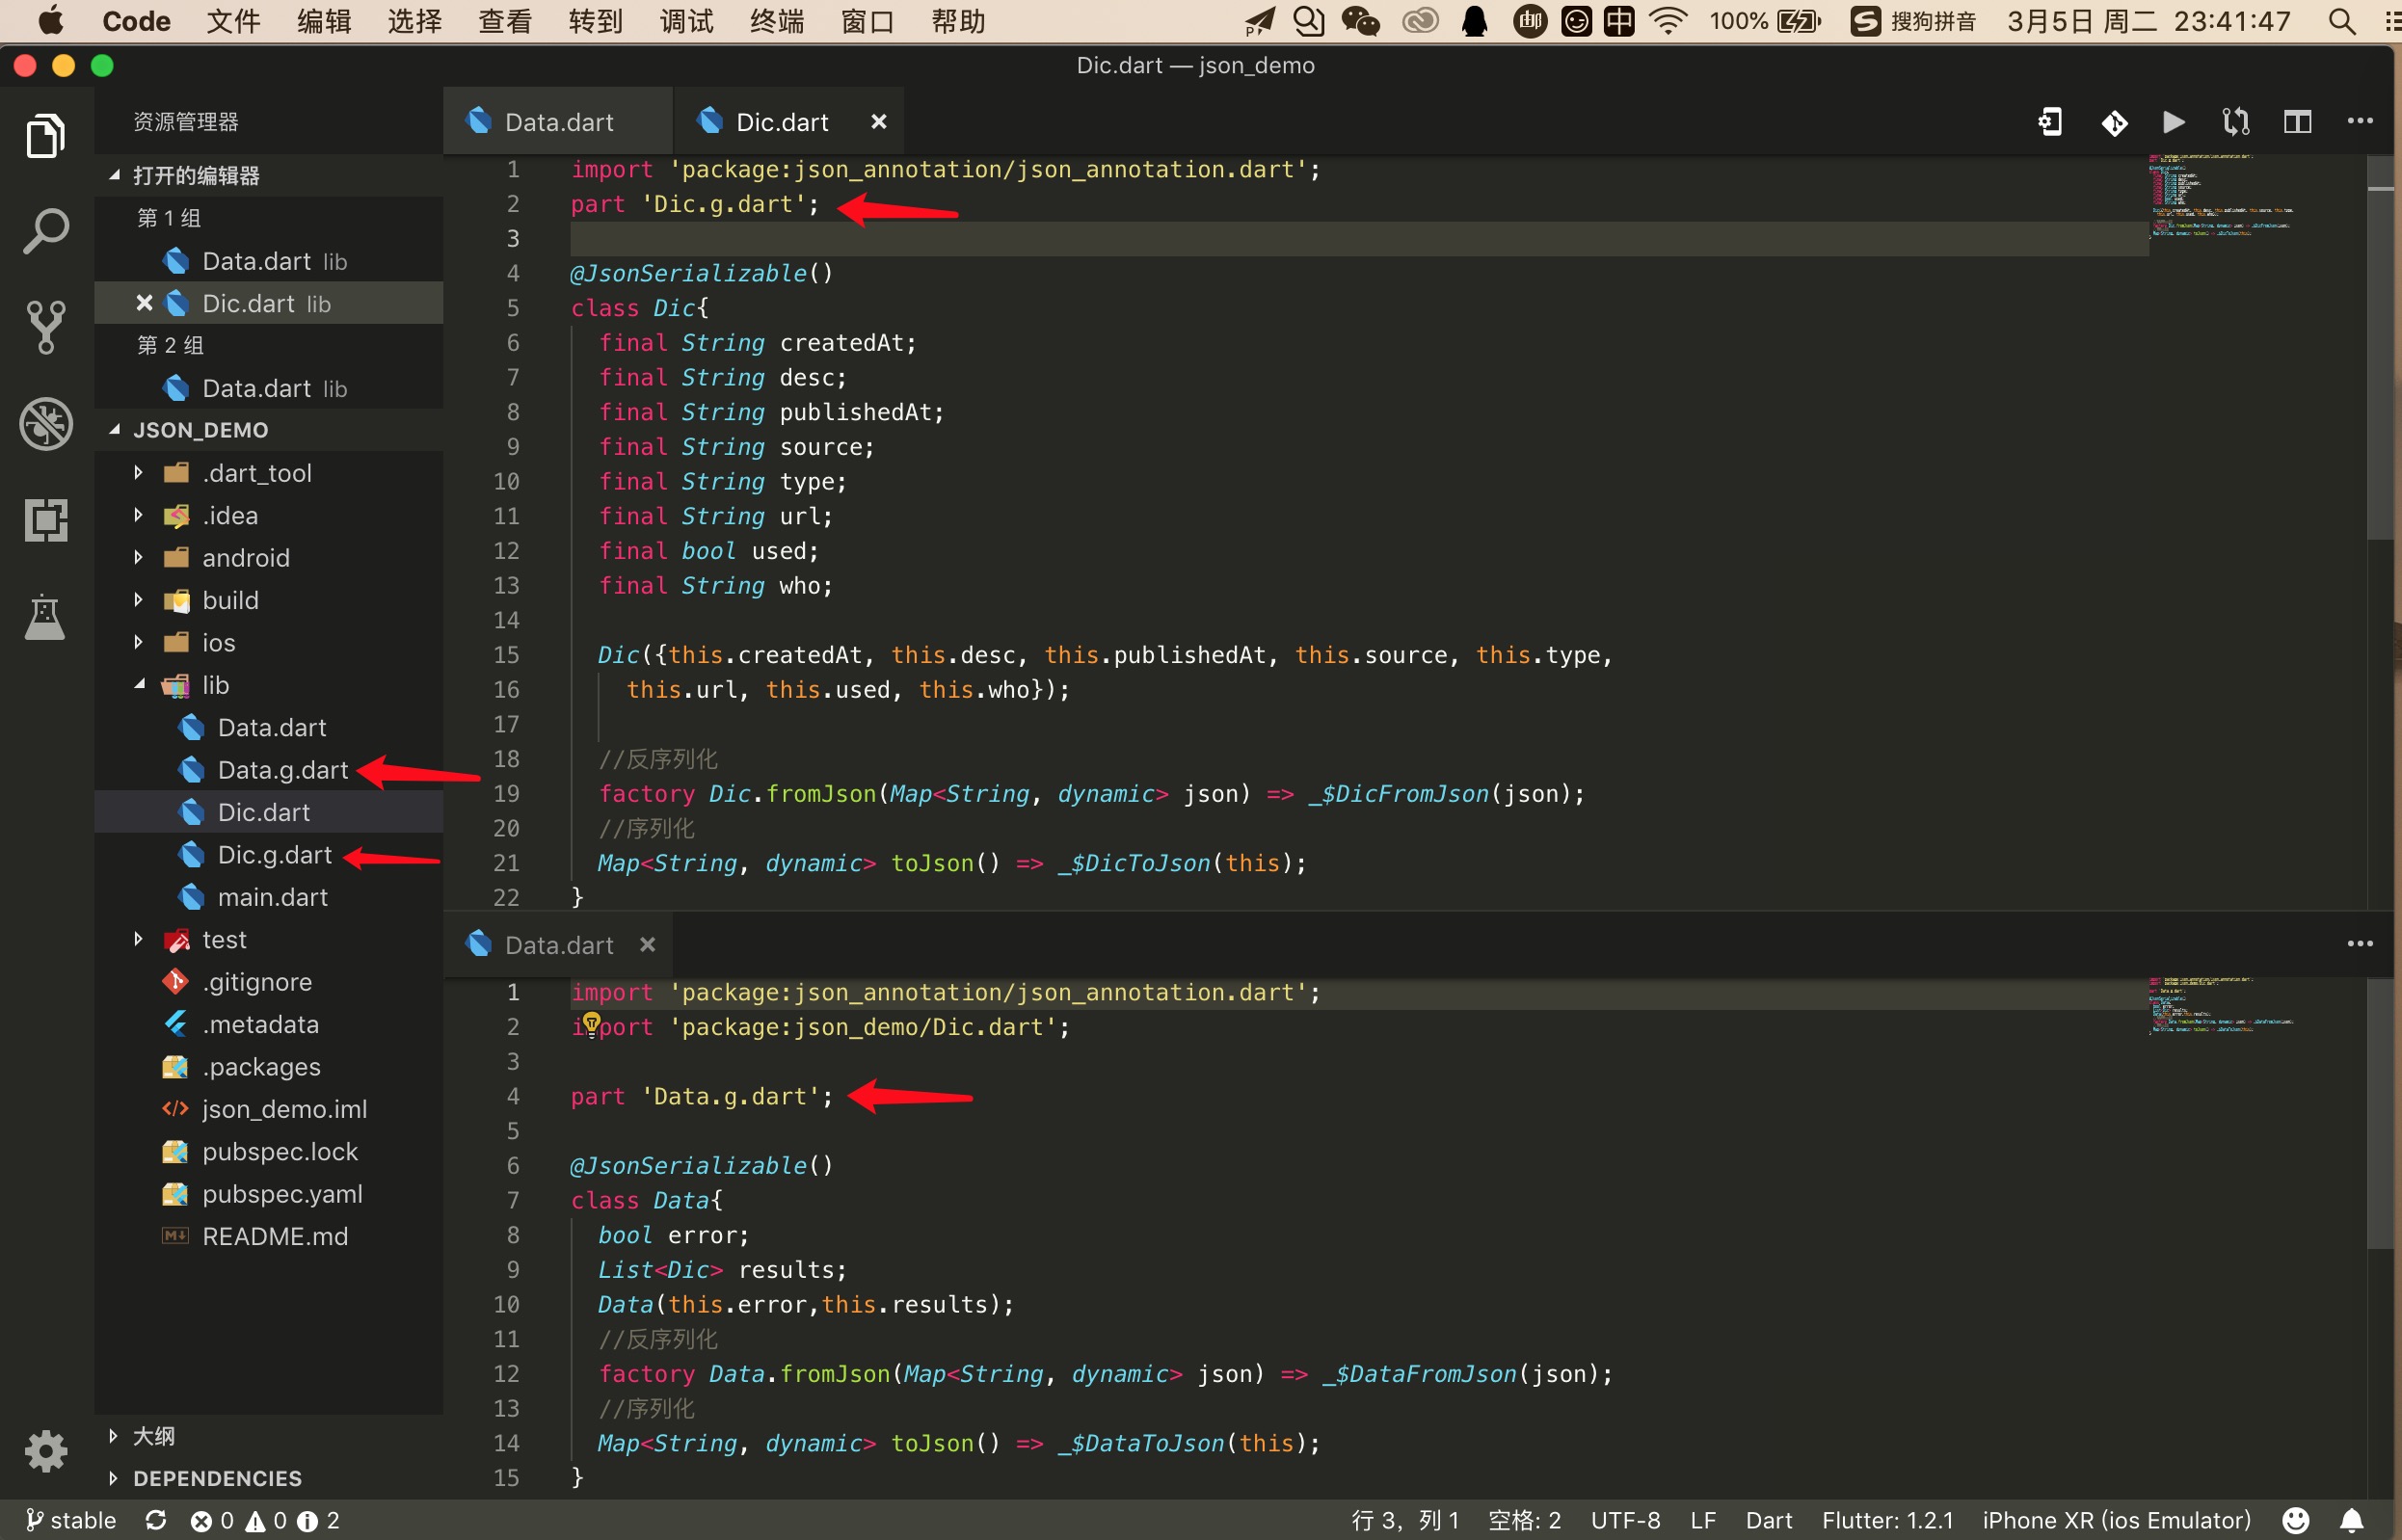
Data.dart 1 2 3 4 5 6 7 8 9 10 11 12 13 14 15 import 'package:json_annotation/json_annotation.dart'; import 'package:json_demo/Dic.dart'; part 'Data.g.dart'; @JsonSerializable() class Data{ bool error; List<Dic> results; Data(this.error,this.results); //反序列化 factory Data.fromJson(Map<String, dynamic> json) => _$DataFromJson(json); //序列化 Map<String, dynamic> toJson() => _$DataToJson(this); }
Dic.dart 1 2 3 4 5 6 7 8 9 10 11 12 13 14 15 16 17 18 19 20 21 22 import 'package:json_annotation/json_annotation.dart'; part 'Dic.g.dart'; @JsonSerializable() class Dic{ final String createdAt; final String desc; final String publishedAt; final String source; final String type; final String url; final bool used; final String who; Dic({this.createdAt, this.desc, this.publishedAt, this.source, this.type, this.url, this.used, this.who}); //反序列化 factory Dic.fromJson(Map<String, dynamic> json) => _$DicFromJson(json); //序列化 Map<String, dynamic> toJson() => _$DicToJson(this); }
然后,ide会报几个错误,这个不用管,那是尚未生成解析文件的原因.
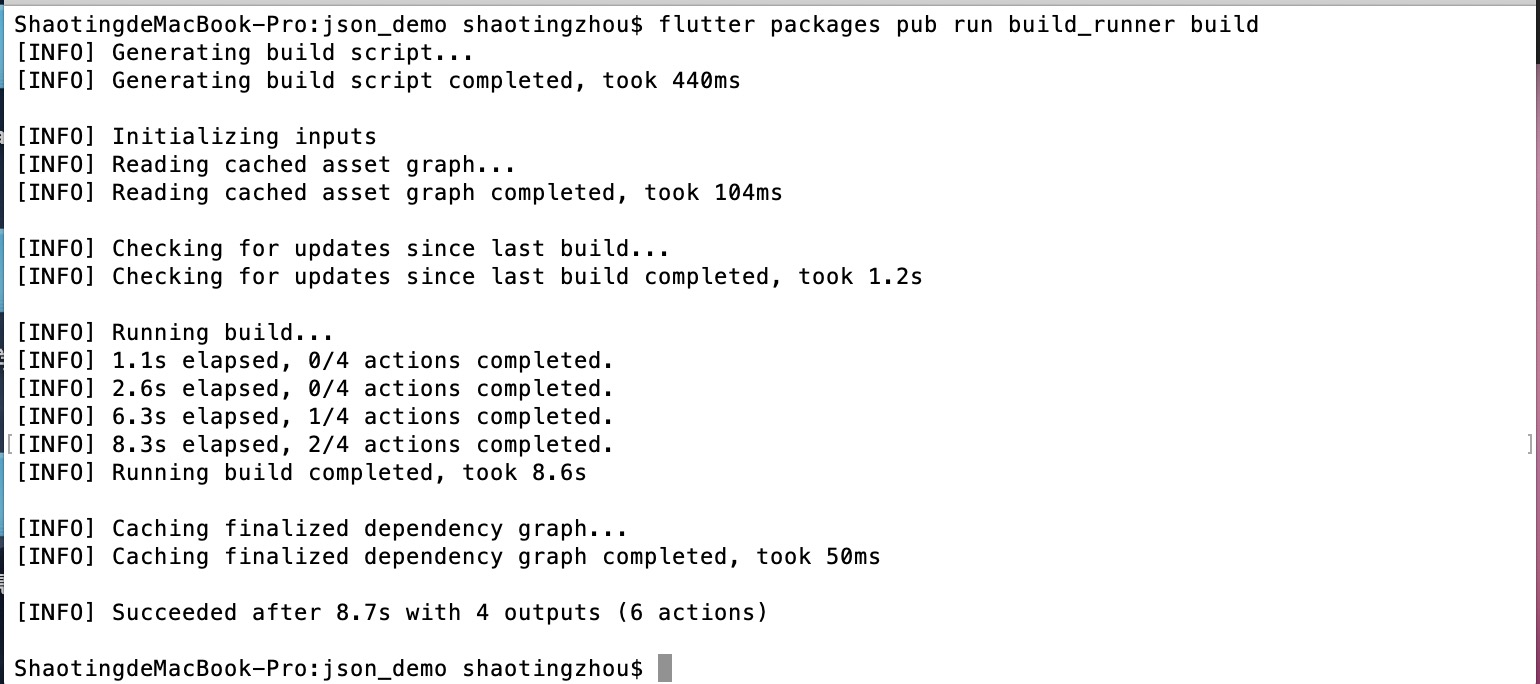
4、然后,终端 cd 到项目根目录,回车,执行命令flutter packages pub run build_runner build,会生成对应的解析文件.
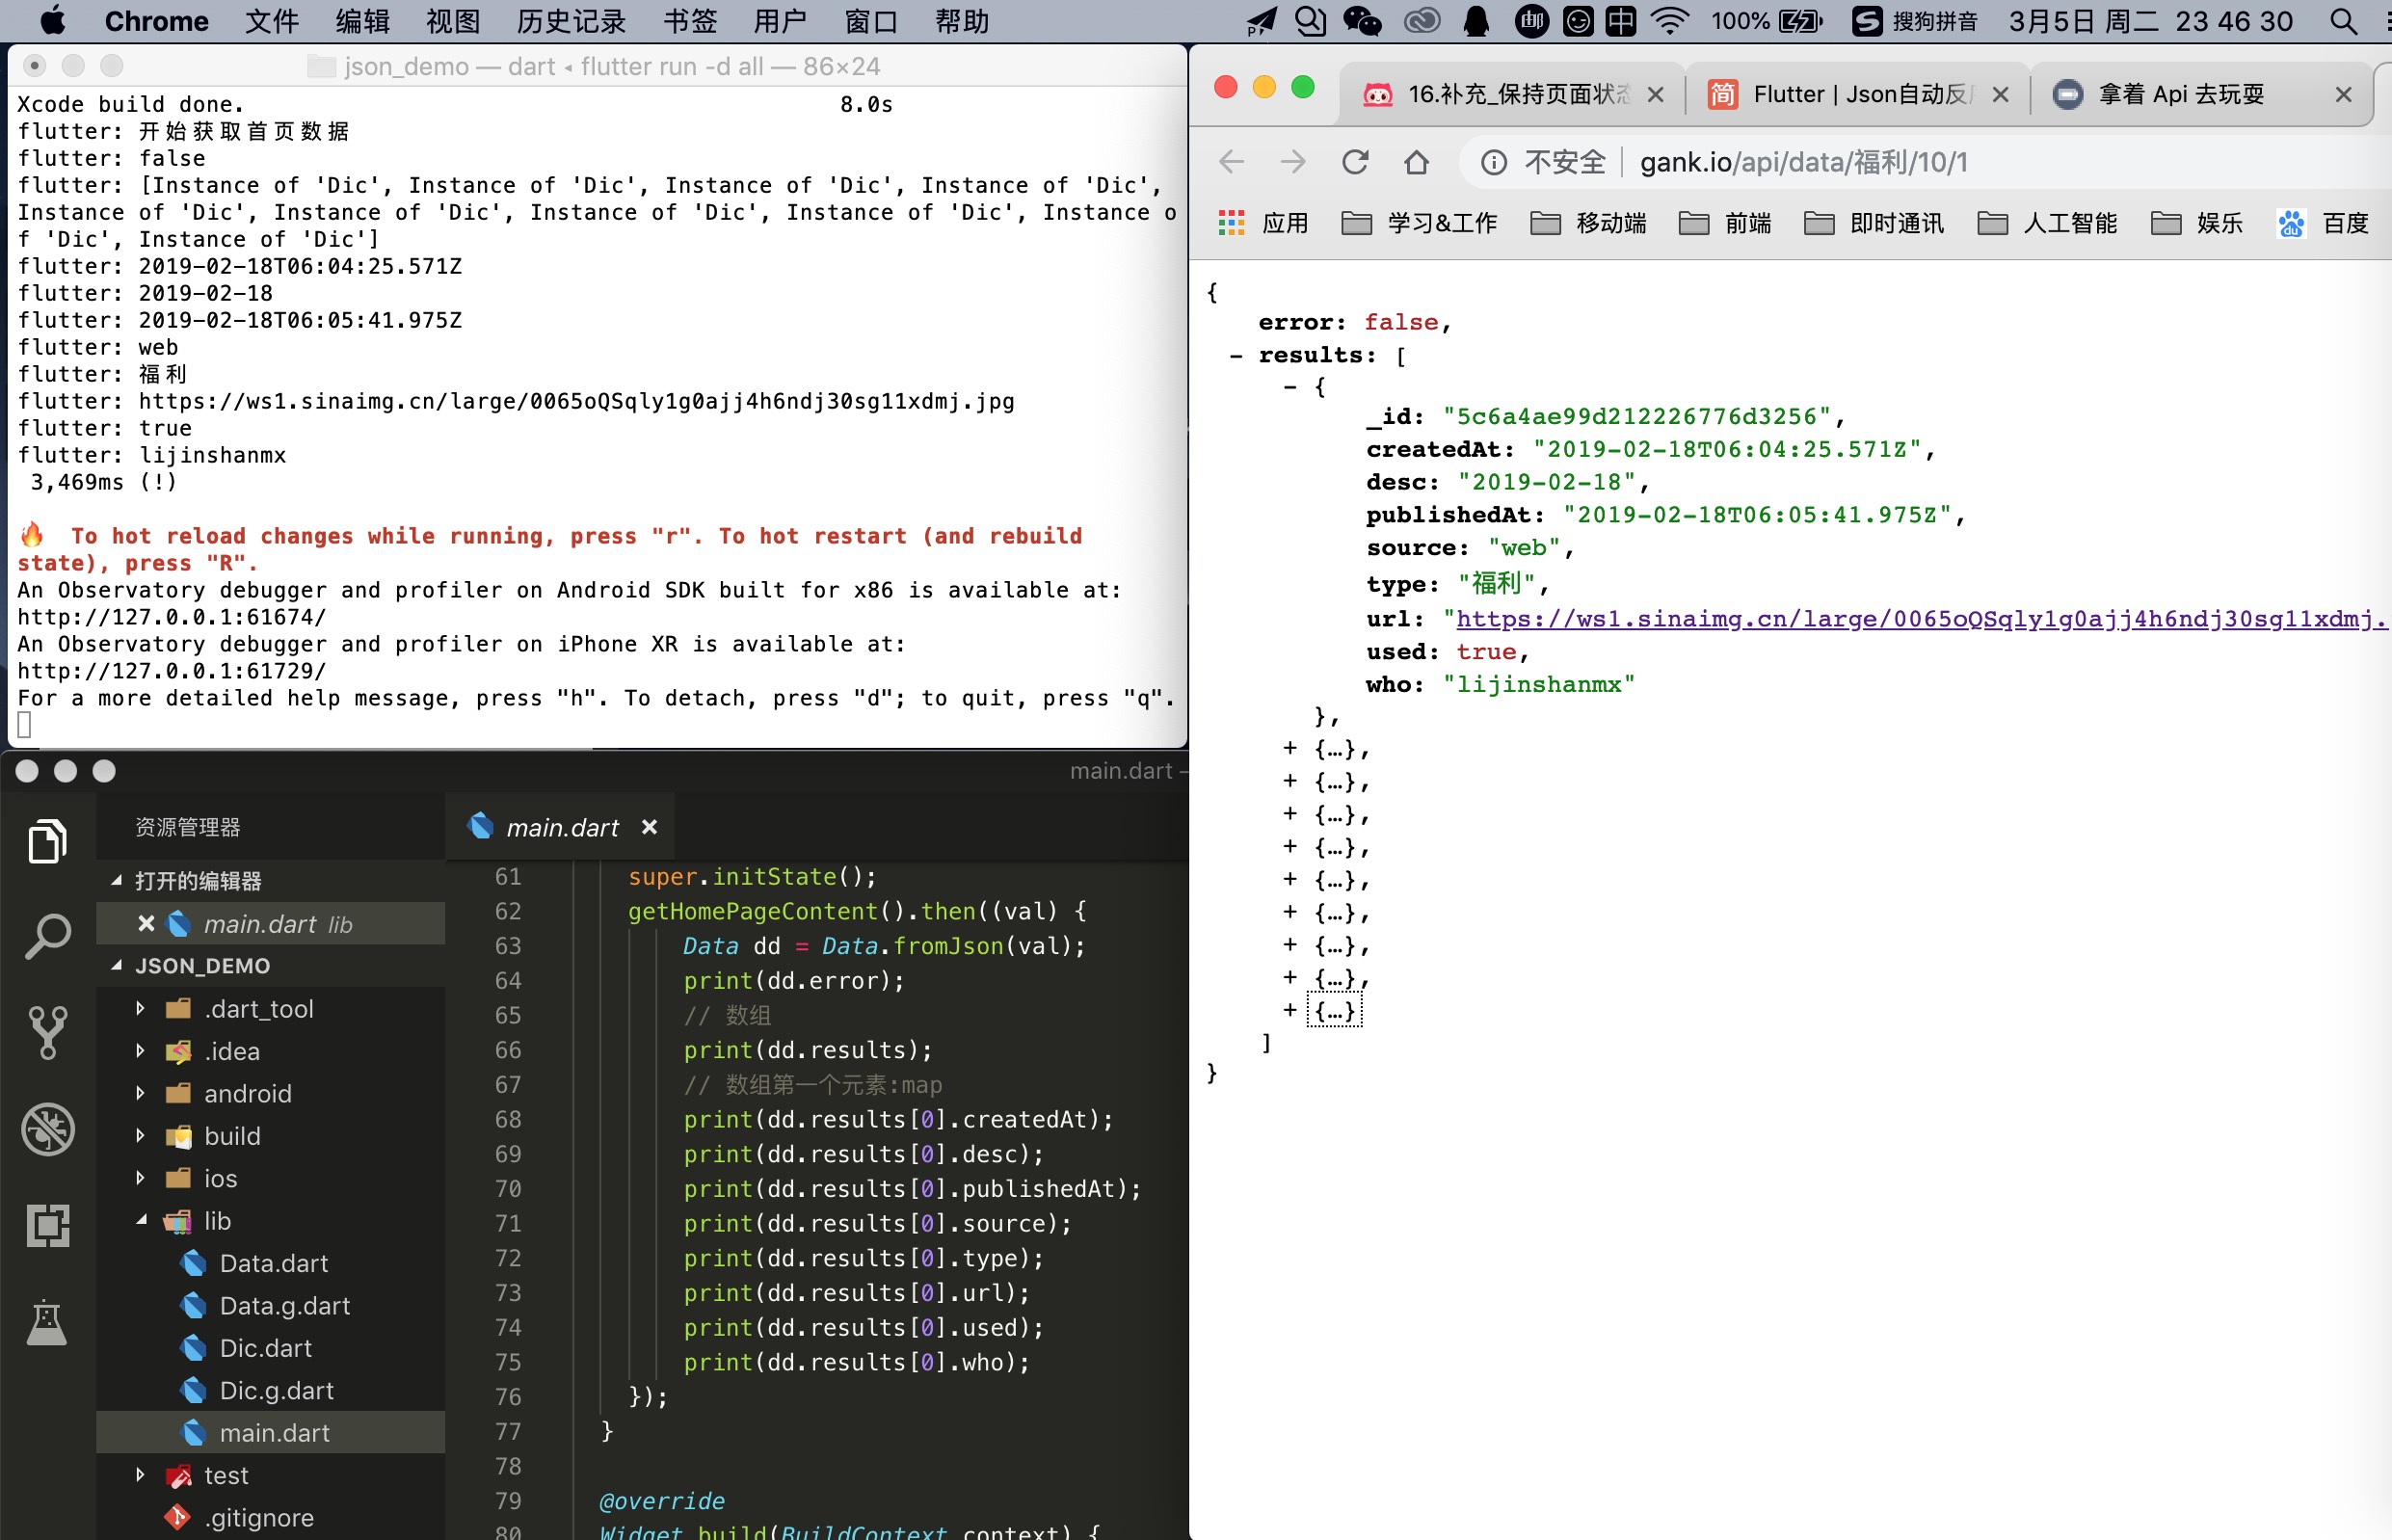
5、ok,撸好之后,输出看一下
1
2
3
4
5
6
7
8
9
10
11
12
13
14
Data dd = Data.fromJson(val); print(dd.error); // 数组 print(dd.results); // 数组第一个元素:map print(dd.results[0].createdAt); print(dd.results[0].desc); print(dd.results[0].publishedAt); print(dd.results[0].source); print(dd.results[0].type); print(dd.results[0].url); print(dd.results[0].used); print(dd.results[0].who);
总结:以上就是对flutter中实体类库json_serializable的简单学习,身边大佬有的说很有必要,因为规范点,无规矩不成三角形,有了实体类方便维护,本来原生就是该有model的,这样不容易出现取值错误和其他问题;有的大佬说没啥必要,有点繁琐了.
网上还有其他的方案:https://github.com/debuggerx01/JSONFormat4Flutter https://javiercbk.github.io/json_to_dart/
源码
 5、ok,撸好之后,输出看一下
